How to take stunning night photos on your iPhone without processing
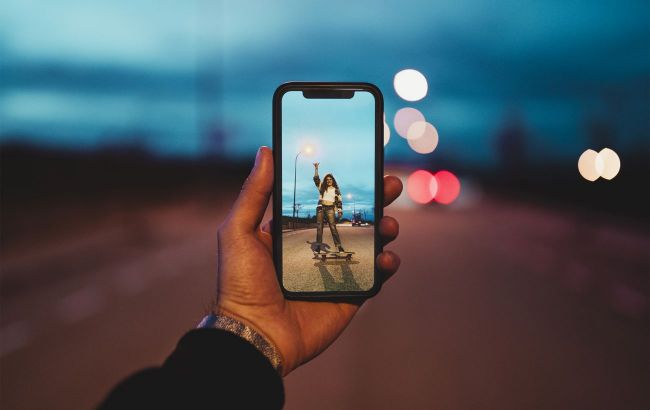 How iPhone will help you take cool shots in the dark (photo: Getty Images)
Nighttime photos on your iPhone can look blurry, noisy, and lose detail if you just click a button. But with the right settings and a few tricks, you can get crisp, bright pictures even in complete darkness, reports MakeUseOf.
Set the maximum duration of the night mode
When you turn on iPhone's Night Mode, the camera takes a picture between 1 and 30 seconds. By default, iPhone automatically chooses the best exposure time based on the lighting conditions.
However, you can manually extend the exposure time to the maximum value for even better photos. The longer the camera takes to collect data, the sharper, less noisy, and more saturated the photos are.
How to set the maximum exposure time in night mode:
- Open the Camera app and click on the arrow at the top of the screen
- Click on the night mode icon (crescent moon) at the bottom of the screen
- Use the slider to set the value to "Max"
- Hold your iPhone still and take the picture.
Note that the maximum exposure time available depends on lighting conditions and camera stability. Using a tripod can extend the exposure time even further and allow you to capture more detailed night shots.
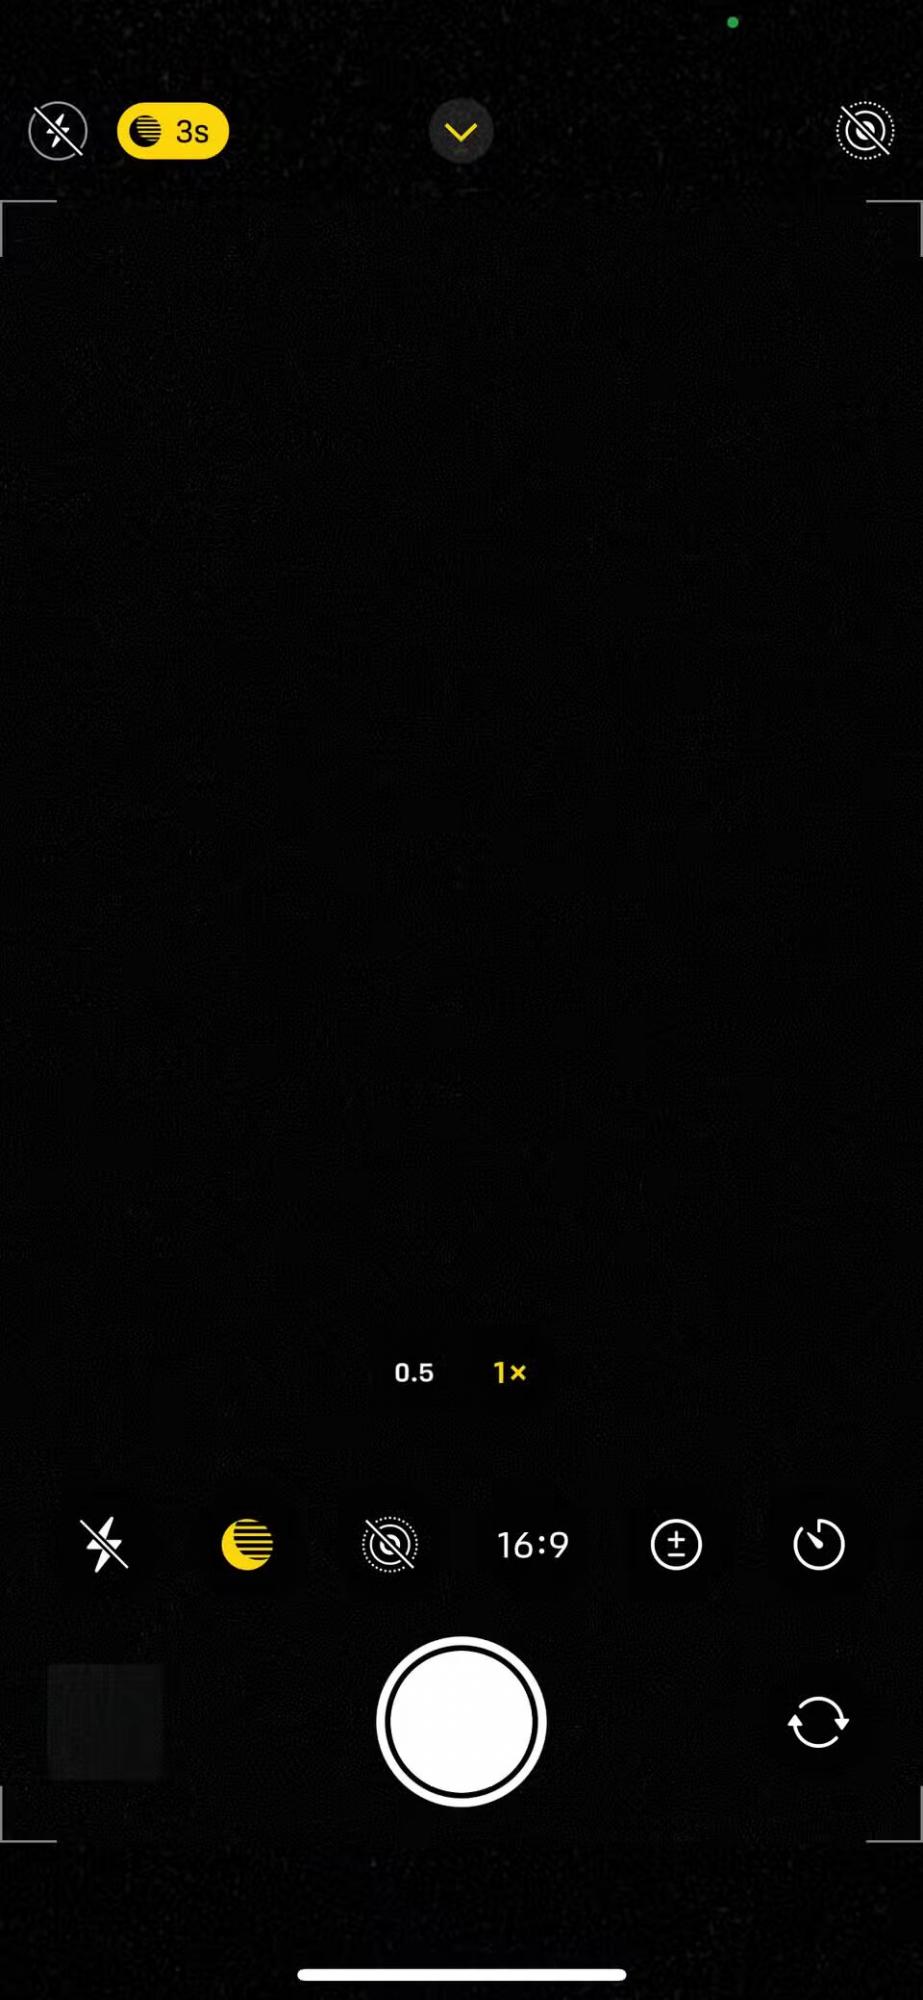
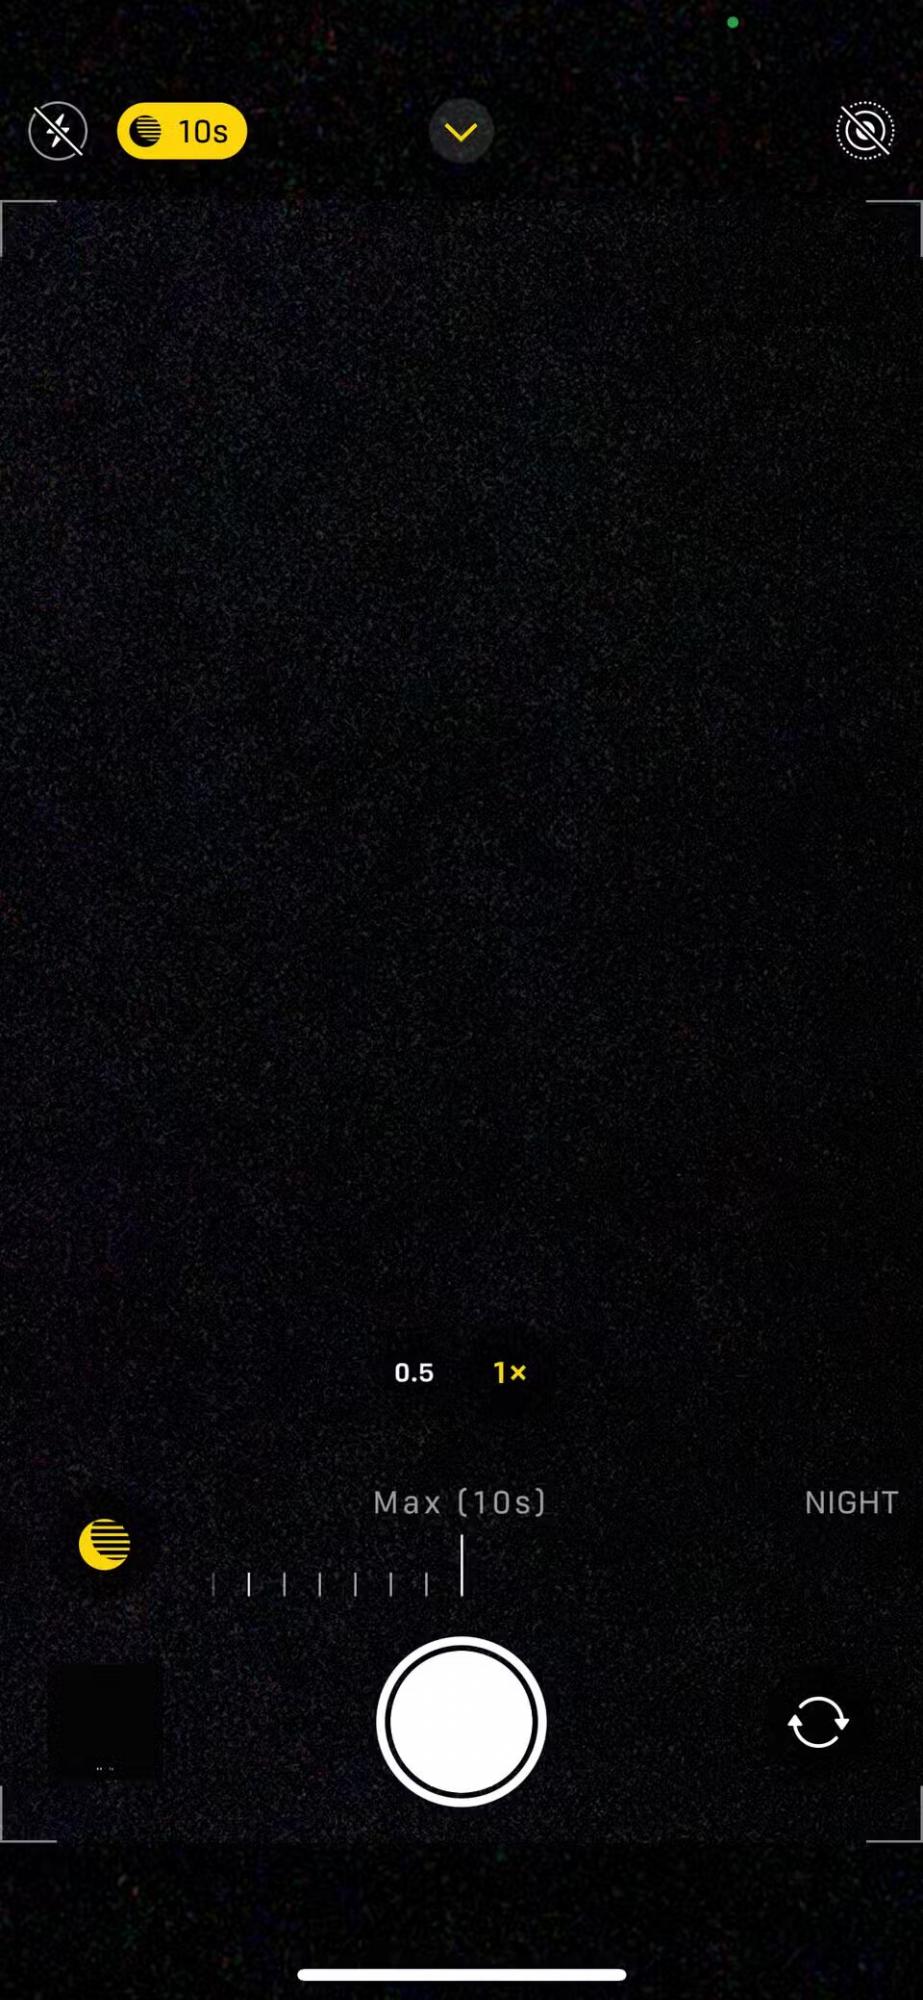
Set the maximum duration of night mode (photo: MakeUseOf)
Adjust the exposure manually
While iPhone's Night Mode does a great job of automatically enhancing dark scenes, it can sometimes overly brighten images. In these cases, blacks and grays can look grainy, and bright areas can look overexposed.
To correct this, you can manually reduce the exposure. This will limit the amount of light reaching the sensor, reduce noise, and improve contrast.
To do this:
- Click on the part of the scene you want to focus
- An exposure indicator appears (a sun icon next to the focus square)
- Swipe down to darken the image and bring back deep shadows.
Reducing the exposure slightly can help to avoid over-exposing bright objects, such as streetlights or neon signs. However, don't reduce the exposure too much, or the photo may become too dark and lose detail in the shadows.
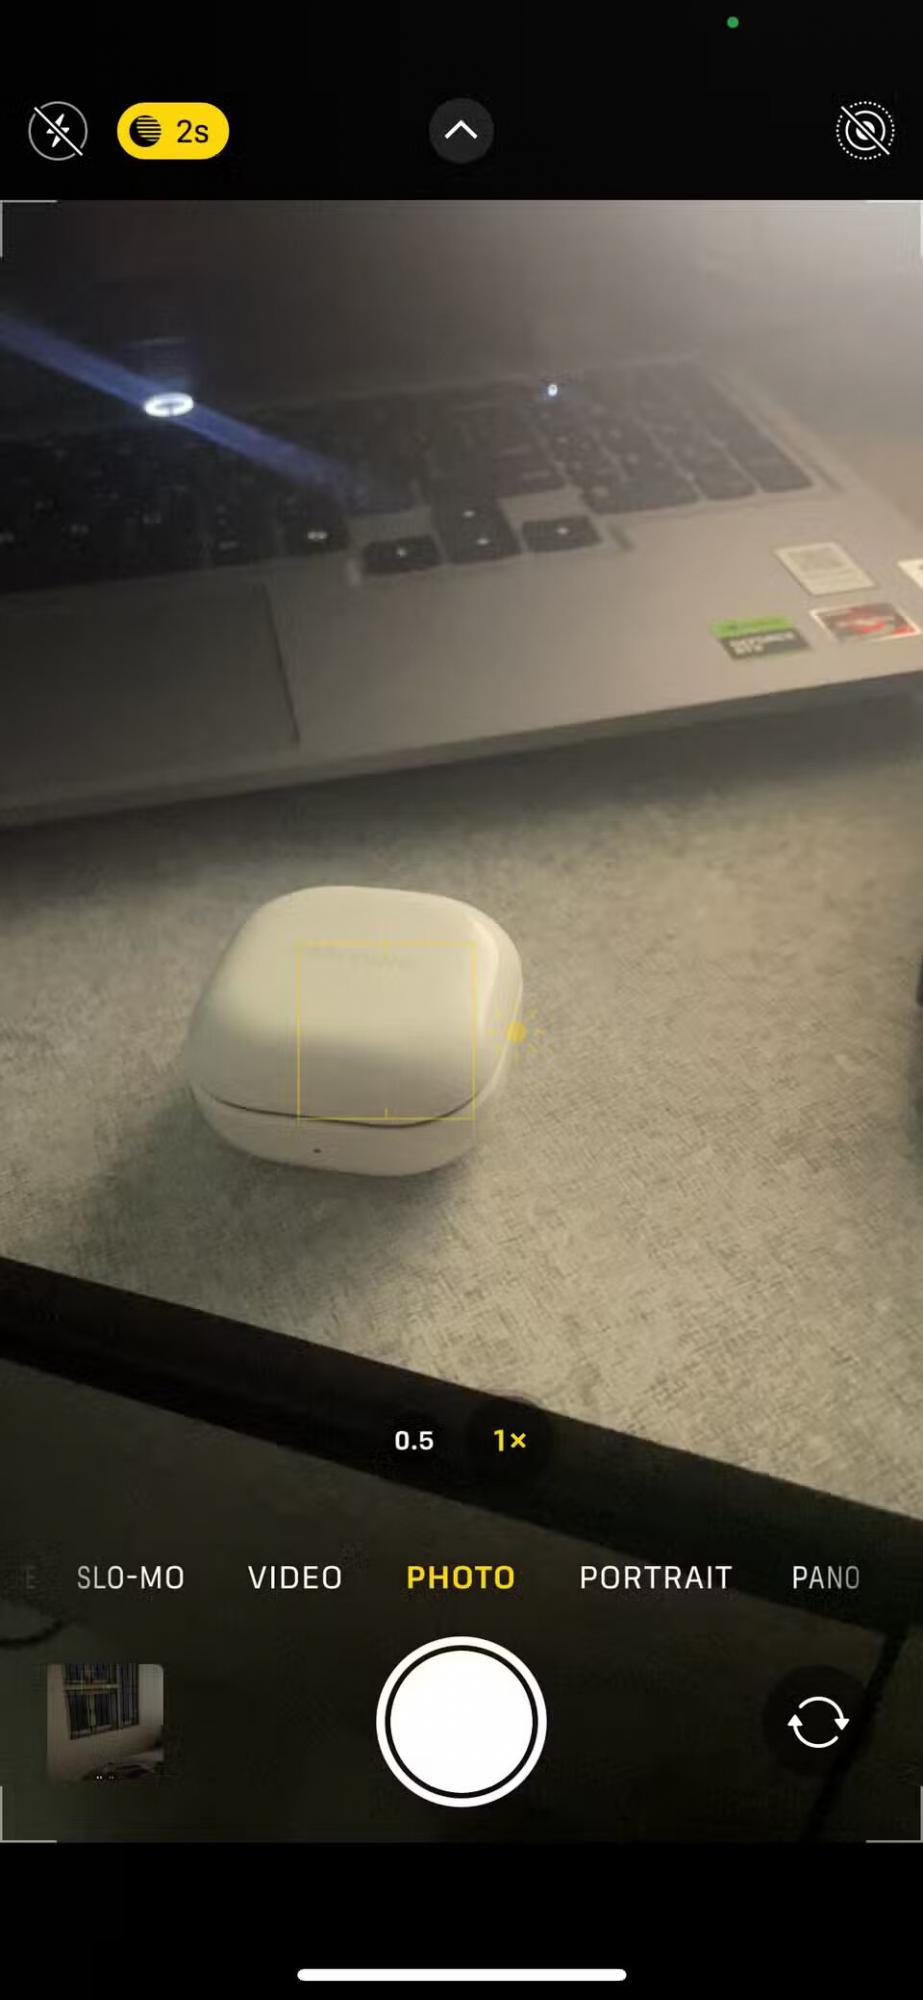

Adjust the exposure manually (photo: MakeUseOf)
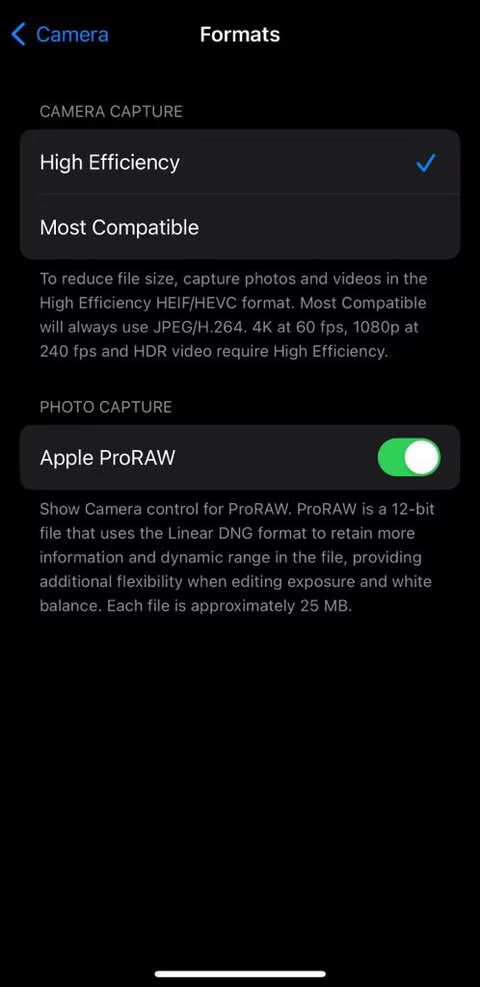
Turn on Apple ProRAW
If you have an iPhone 12 Pro or later Pro/Pro Max model, using Apple's ProRAW format can help improve your nighttime shots. This format combines a detailed RAW image with Apple's intelligent processing to give you more control over exposure, color, and noise reduction.
Unlike the standard JPEG or HEIC formats, ProRAW preserves more image data, such as details in shadows and highlights, which is especially useful in low-light conditions.
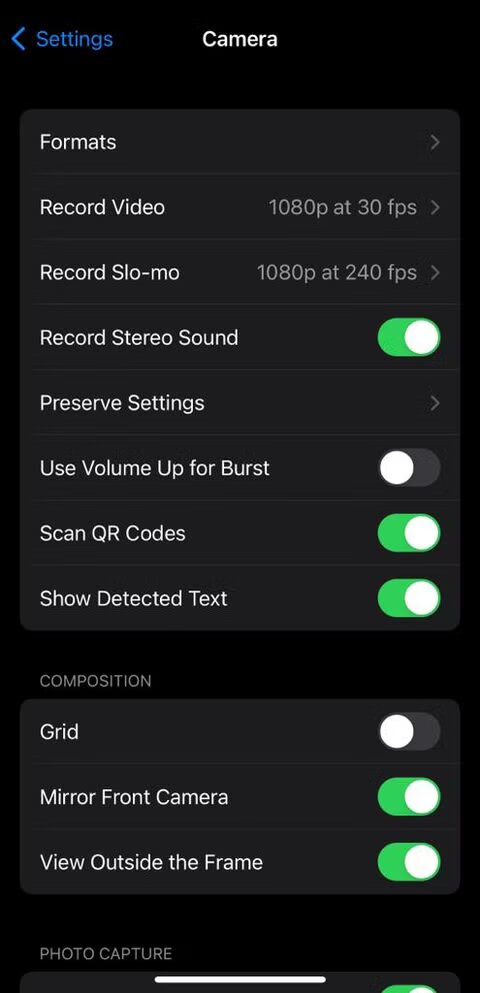
To turn on Apple ProRAW:
- Go to Settings, Camera, and Formats
- Turn on Apple ProRAW. If you have an iPhone 14 Pro or later, set the resolution to 48 MP.
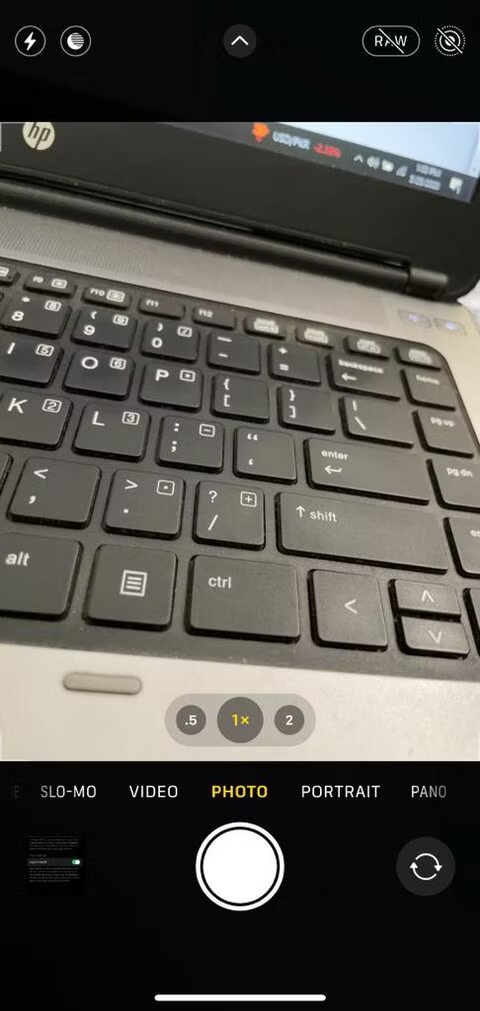
After that, the RAW button appears at the top of the camera interface. Press it before shooting your night shots. Later, you can edit your shots in apps like Lightroom for even better results.
Turn on Apple ProRAW (photo: MakeUseOf)
Turn off "Quick Shot Priority"
Typically, iPhone takes a picture as soon as you press the shutter button. To do this, all iPhones have the "Quick Shot Priority" feature enabled by default.
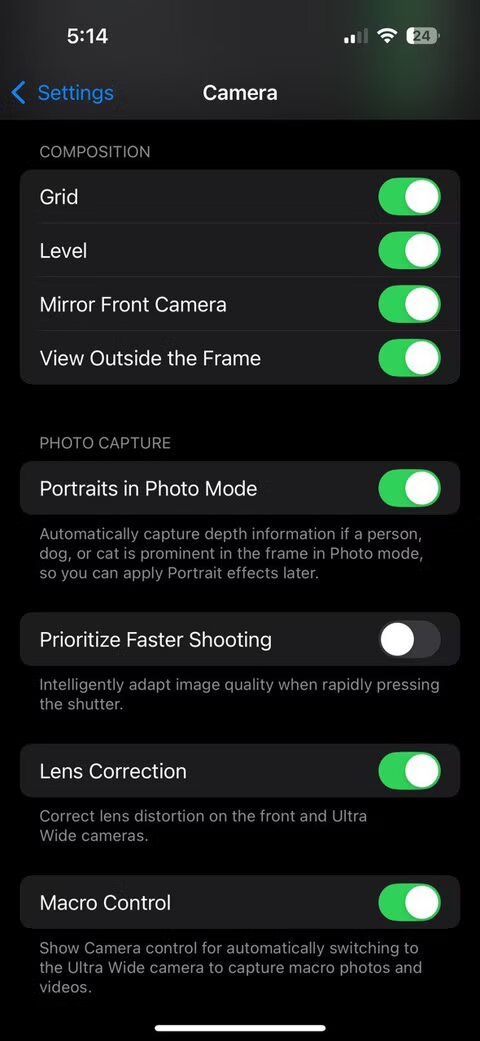
However, this mode is not suitable for night photography, as it prevents the camera from capturing more details.To turn it off:
- Go to Settings, Camera
- Turn off the "Prioritize fast shots" setting
- Turning this feature off can improve not only night shots but photos in general.
Turn off the "Quick Shot Priority" (photo: MakeUseOf)
You may also be interested in how to take perfect photos on Android without processing.